Learn how the project creation works!
Lango > Projects
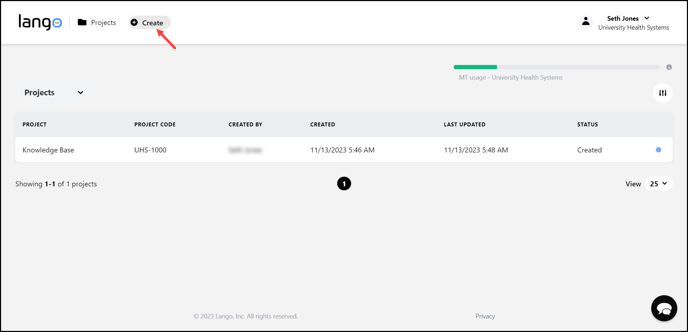
1. Follow the above-mentioned workflow to land on the Projects grid.
2. Click the ![]() button located at the top of the screen. Doing so opens the project creation screen.
button located at the top of the screen. Doing so opens the project creation screen.
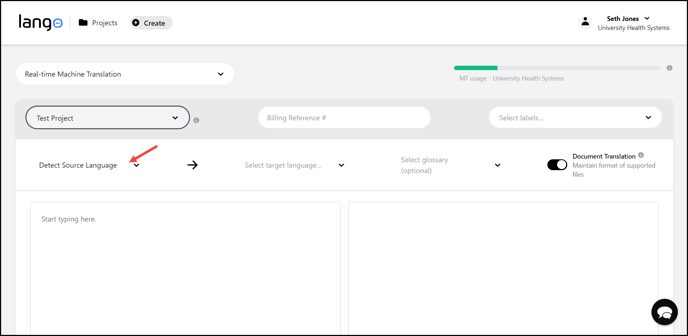
3. Choose the translation method from the Translation Type dropdown. By default, it is set to Real-Time Machine Translation.

4. Select the project for which you want to create a translation request using the Select Project dropdown.

5. In case the project is not an existing one, click Create [project name] as you type the name in Select Project dropdown.

6. Enter the billing reference number in the Billing Reference # field.

7. Enter the labels for the project in the Labels field or choose an existing one from the dropdown.

8. In case you do not want the source language to be detected automatically, choose the language of the document using the Detect Source Language dropdown.
9. Select the target language from the Select Target Language dropdown.

10. In case you want to choose a glossary, you can select one from the Select Glossary dropdown.

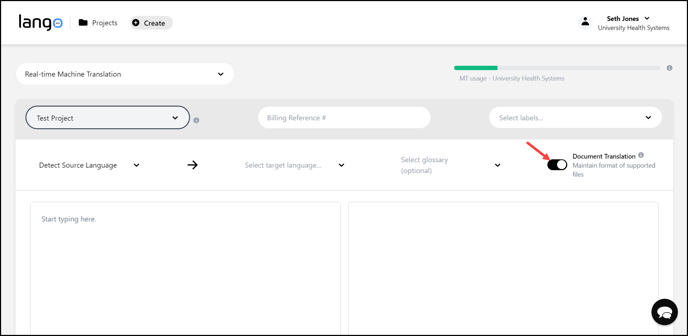
11. If you do not want the format of the uploaded document retained, disable the Document Translation toggle button.
12. In case you want to enter the text to be translated, type the text in the textbox on the left.
13. The translated text appears in the text editor on the right.
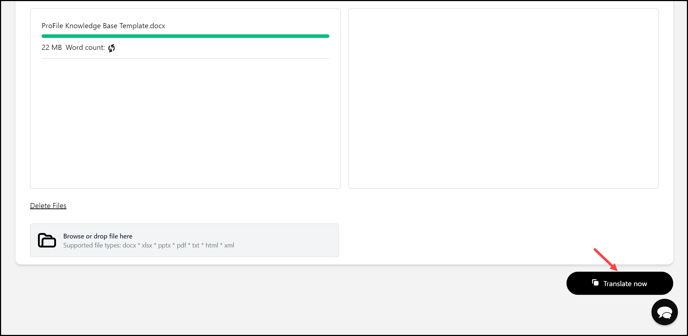
14. To upload a document, click the ![]() button below the text editor on the left. Doing so opens your system storage to choose a document from.
button below the text editor on the left. Doing so opens your system storage to choose a document from.
15. As the document is selected, it starts uploading in the text editor on the left. Multiple documents can be uploaded from here. The upload progress is displayed as well.

16. Once the document is uploaded, click the ![]() button located at the bottom-right corner of the screen. This translates the document.
button located at the bottom-right corner of the screen. This translates the document.